Backpacking can seem like a daunting undertaking if you’ve never done it before. So, I almost always recommend a short overnight trek or a weekend outing for people wanting to try it out for the first time. That’s just enough time to experience backpacking without the intensity of an extended adventure.
If you’ve never gone backpacking before, then it is likely you also need to get some of the gear. Before you jump to buying everything you might need for an overnight backpacking trip, borrow or rent first. These options are more affordable since they give you the chance to try out the activity without the pressure of financially investing fully. Renting or borrowing gear from a friend also gives you a chance to try out different gear options before investing in your equipment as well.
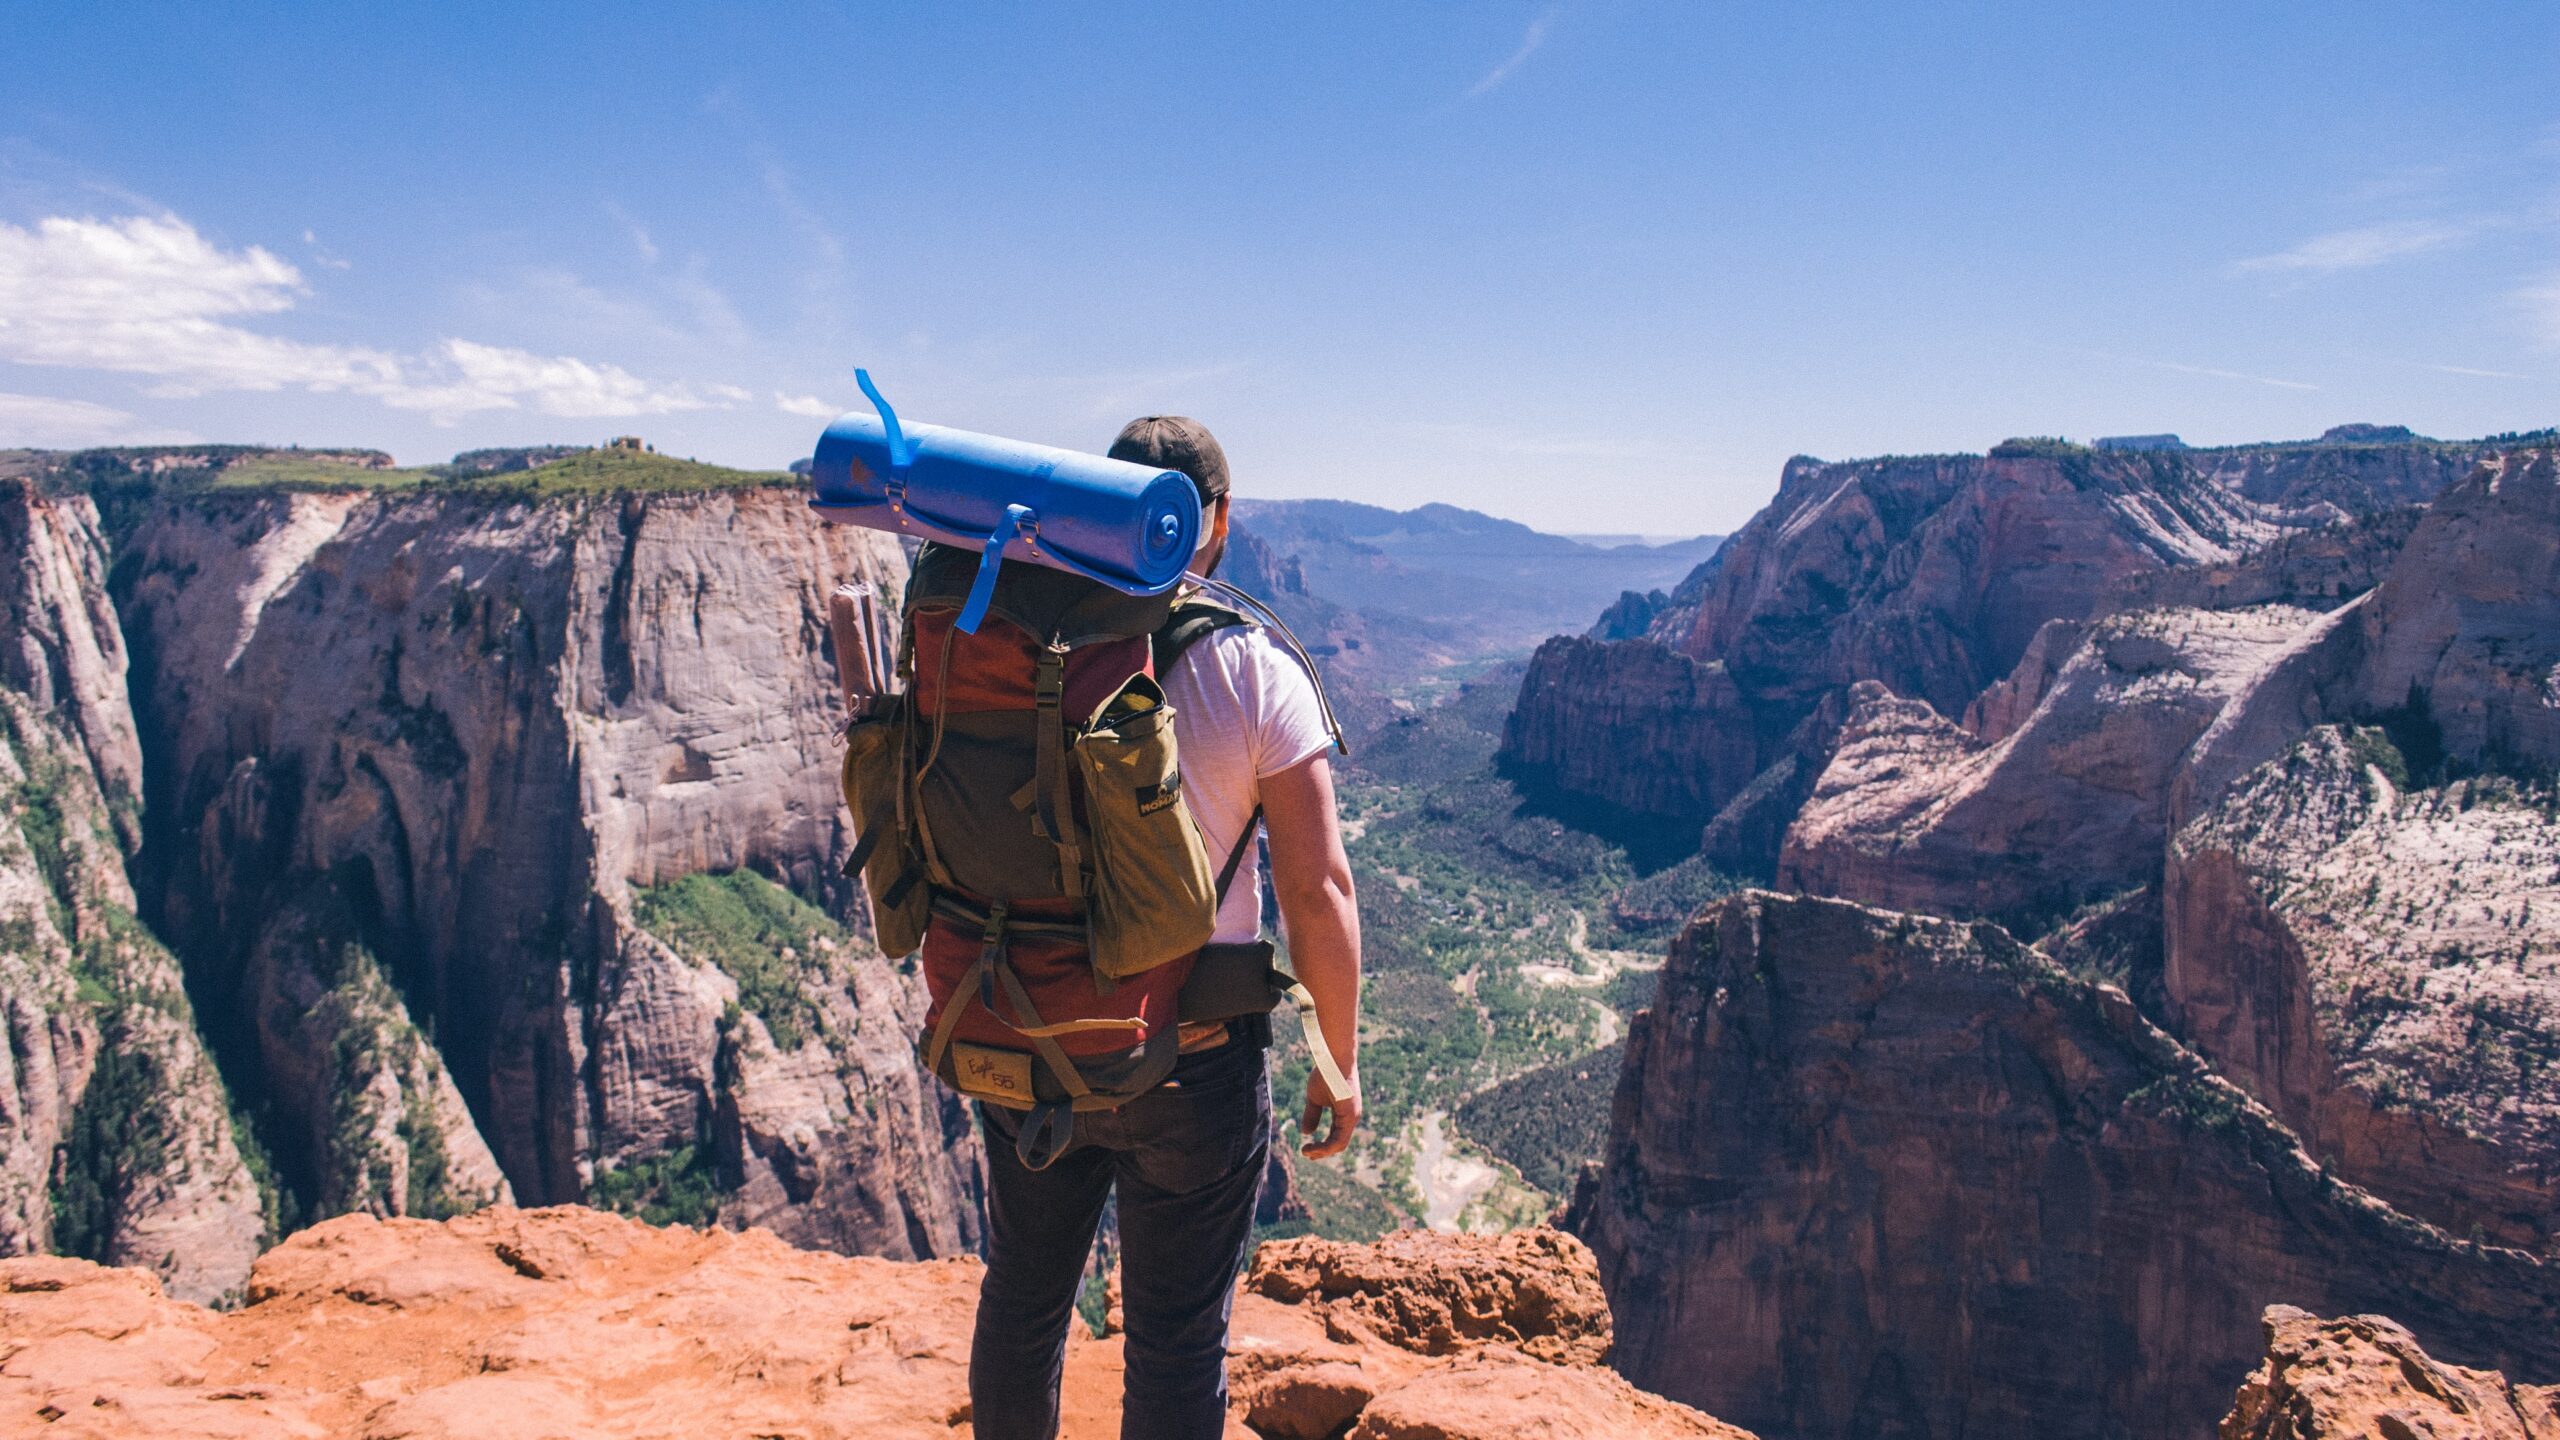
Eventually, you’re going to want a few of your own things. And a great starting point for beginner backpackers is first to get your backpack.
Choosing a Suitable Pack
While the best option when starting any new activity is to start with what you have, even if you have a backpack for school or commuting on your bike around town, the chances are that it isn’t suitable for a backpacking trip.
Standard backpacks for day-to-day travel can work when you first start day hiking, but as you graduate to backpacking, you need more room and better support. Most backpacks we use for daily activities only have shoulder straps, have limited organization, and have no back support. On the other hand, backpacking packs are designed to help you comfortably carry heavy loads over long distances.
There are three main areas to look at when choosing the right backpack for your trip needs:
- Size
- Features
- Fit
The size of the backpack you need will depend on the length of your trip and what you need to carry. For instance, if you are backpacking in the summer, a smaller pack could work, but in the winter you need to carry more layers, bulkier sleep gear, and maybe more fuel for cooking.
When looking at backpacking packs, the size is labeled in liters. For an overnight or weekend trip, a 30-50L pack should work just fine. For overnights specifically, a pack less than 35L can work. Liters are the standard measurement for backpacks because it discloses the volume of the bag. An easy way to think about the size of a backpack then is to imagine a standard Nalgene water bottle. One water bottle is one liter. So, a 35L backpack hypothetically should be able to hold 35 Nalgene’s worth of water. I don’t recommend pouring water into your pack though, that’s for visualization purposes only.
The features of your pack will vary depending on the style of the bag and the intended use. That’s why backpacking specific bags work best. They’ll have more features like exterior attachment points for gear, a frame to support the weight, various pockets for organization and easy access, a hydration reservoir, padding on the back and straps for comfort, and a hip belt to take most of the weight off of your shoulders. There are other possible features and additional accessories, so when shopping for a bag, look at all options to see what works best for your needs.
Finally, the fit of the bag needs to be specific to your body. They make male and female-specific backpack designs to better fit differing anatomy like broader shoulders or wider hips. There are also unisex options. Going to a gear shop to try on backpacks is recommended, even if you don’t buy them there. Most sales associates in those stores are trained to help customers find and fit backpacks to their body types and size. Although backpacks may be labeled as gender-specific, don’t let that stop you from trying them. For example, I am a female but use either male or unisex backpacking packs because I have broader shoulders, and female-specific bags don’t fit my body as well.
Renting backpacking equipment can also help you find the right bag for you as the outfitters will help find and fit a backpack to your body. Not all outfitters will have the same options, but if there is one with several brands and styles, try on a few and see which ones feel best. That way, you essentially get a test run of a bag before you buy it.
What You Need to Bring
This is an overnight or weekend trip, but the basics of any backpacking trip will require similar gear. How much of each thing and the type of gear will depend on the length of your trip, the climate/weather, and your personal needs. I’m not going to break down each type of gear in detail, but instead, provide a brief list so you have an idea of what you’ll need to fit into your backpack while you’re packing.
Items to include on a backpacking checklist:
- Hiking shoes
- Season-appropriate clothing
- Tent (or other shelter)
- Sleeping bag
- Sleeping pad
- Stove + Fuel
- Other camp kitchen supplies
- Enough food for the length of trip
- Water bottles + reservoir
- Water treatment supplies
- Personal hygiene products
- First-aid and emergency kit
- Repair kit
- Headlamp
Other items can be included or even necessary to bring pending the type of terrain you encounter, the time of year you’re hiking, and to fulfill other personal needs.
How to Pack Your Backpack
Even though the list above isn’t exhaustive, it can still seem like a lot to fit into a 35L backpack! You’ll be surprised how much you can carry comfortably as you start to pack and hit the trail.
When packing your backpack for any trip, the first thing to do is gather all of your supplies and lay them out on the floor. This gives you a great visual to ensure you have everything you need. You can go down your checklist and double-check that it is all there. Then, you can begin packing your bag.
The Zones
Bottom zone: usually a sleeping bag compartment, this zone is designed to fit bulkier gear items that you won’t need until you get to camp.
Core zone: this is the middle of your pack, above the bottom compartment. Pack heavier items here like your food, bear canister, and camp kitchen.
Top zone: near the top of your pack is where you can store items that may be somewhat bulky, but may still need while hiking. These items include extra layers, a water filter, a toilet bag, and your first aid kit.
There are other usable areas on the backpack, like the accessory pocks and any exterior attachment points. Some packs have straps designed to attach a foam sleeping pad to the base of your pack, and others will have a brain with pockets that sit on the top of the pack.
These accessory pockets and lash-on points are ideal for items you need often or in an emergancy. They could be front pockets, hip belt pockets, water bottle holders, side pockets, or brain pockets. Each backpack will have varying designs. Examples of things often kept in accessory pockets include a map, snacks, pack rain cover, compass, headlamp, or your ID.
Don’t be afraid to pack, unpack, and repack your bag multiple times or change things around when you are on the trail. You want the pack to feel comfortable and be easy to carry.
The last thing to do before you put the pack on after it’s packed is to compress things as much as possible. Most backpacks will have compression straps to help press things together and make the bag more compact and easier to carry.