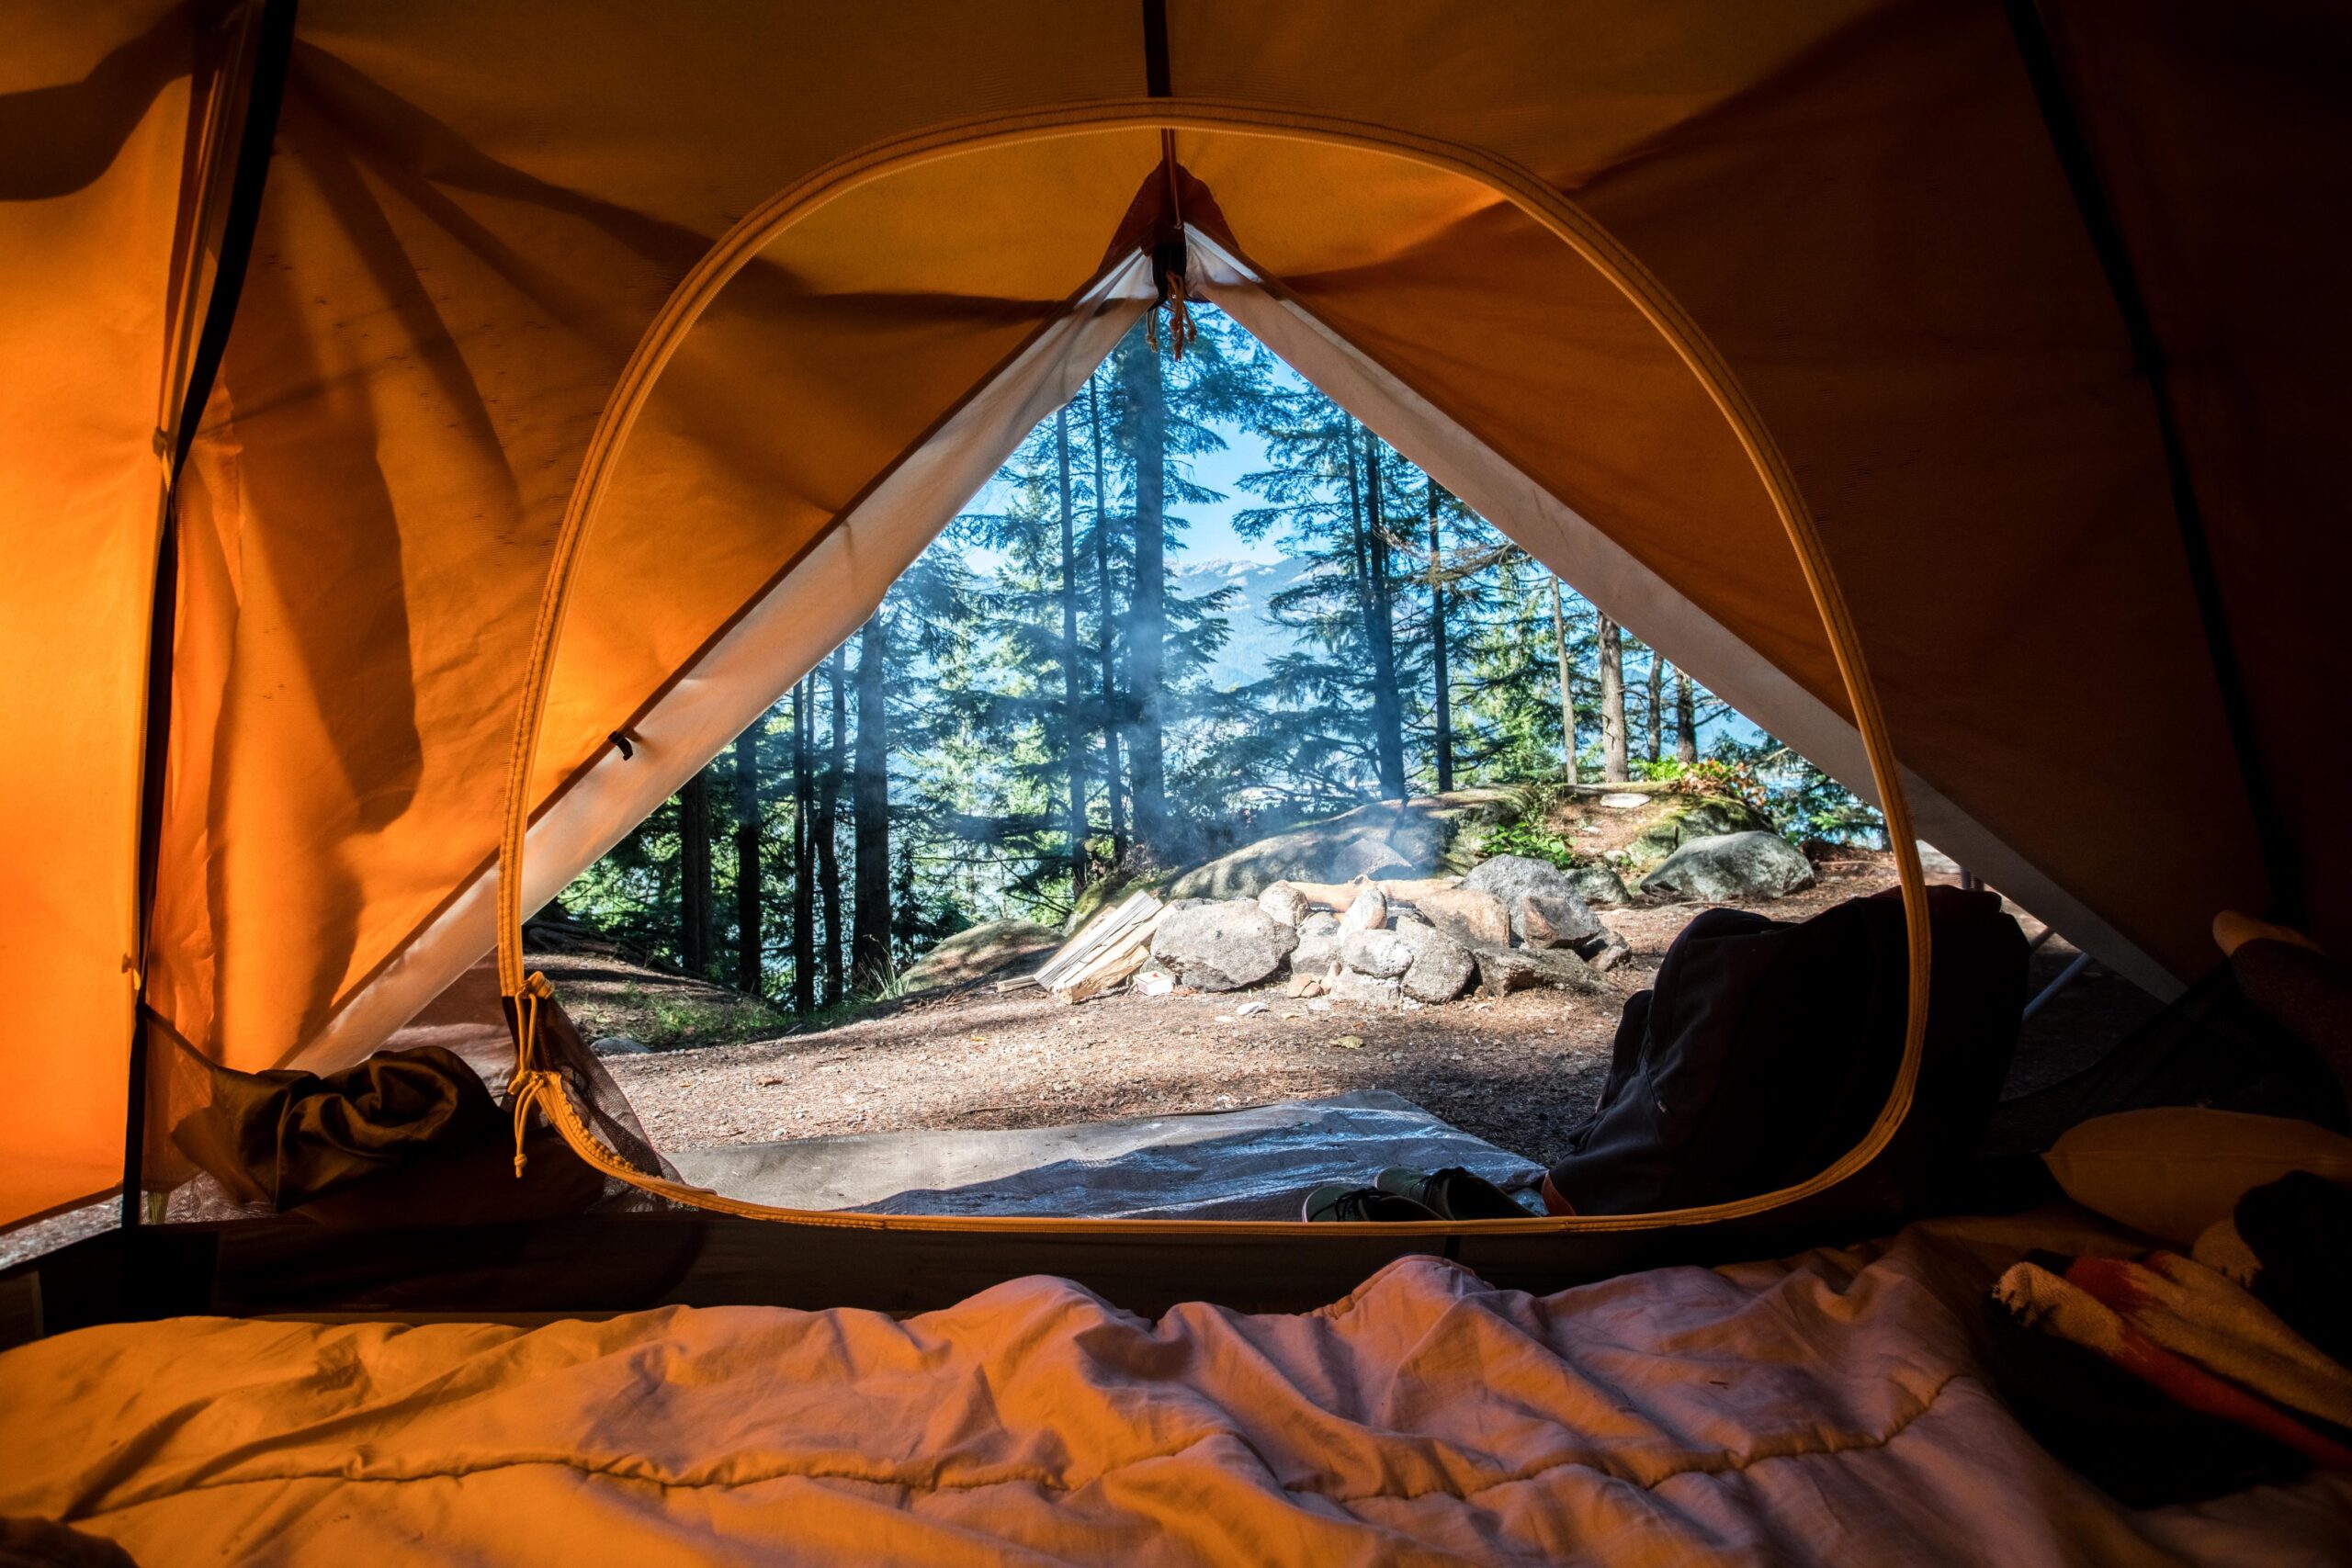
There is a lot to learn when you start to get into outdoor recreation like camping and backpacking. No matter the type of camping, there are some things you should know when it comes to setting up your tent.
First things first, you’ll need a tent! So, how do you choose the right tent for your camping needs? If you’re new to camping and have no idea where to start, talk to a friend with camping experience. Better yet, have them take you camping and teach you a thing or two. If you don’t have any connections that can mentor your camping purchases and experiences, look into outfitters. Gear outfitters often have gear to rent and can take you on guided trips. This helps ease anxieties surrounding the new activity and ensures that someone more knowledgeable can help guide you.
If you decide you are ready to buy your own tent, there are a few things to consider before purchasing:
Sleeping capacity
Season of use
Tent style and height
Tent features
Intended use
Durability needs
While all of these things are important to think about when shopping for a tent, identifying the intended use will be a priority. Are you camping with a family? Do you need a three-season tent? Do you bring your dog camping? Are you car camping or backpacking? Start asking and answering these questions to help guide your purchasing decisions.
A three-season tent is sufficient for most beginner campers as you’re more than likely planning to camp during the spring, summer, and fall. These tents will keep you dry in the rain and light snow, provide privacy, shield you from bugs, and have enough ventilation.
The size of the tent will depend on how many people and pets are going camping and whether you have to carry the tent or not. For instance, if you are car camping with you and your dog, a 1-2 person tent should work just fine. However, if you plan to go with you, a partner, and a dog, you may want a 2-3 person tent. If you are backpacking, the tent’s weight comes into account because you have to carry it from campsite to campsite.
Once you’ve chosen a tent you feel fits your needs, practice setting it up. If you bought the tent new, the manufacturer will include instructions on how to set up the tent properly. Follow these instructions. It can be tempting to try and figure it out on your own, but some tents are more complicated than others, and it is easy to miss a step, forget a piece or two, and even damage the tent if you set it up improperly.
If you bought a used tent, are renting, or are borrowing a tent from someone else, you should still practice setting up the tent at home before you go. These tents may not have instructions included, or they’ve been lost over time, so to find out how to properly set up that tent, look on the manufacturer’s website for resources. More often than not, there will be digital instructions to guide you. With used tents especially, the pre-trip practice setup ensures that you have all the correct pieces and that no part of the tent is damaged.
At the campsite, no matter the type of camping, follow Leave No Trace guidelines regarding the best practices for minimizing your impact in that natural area. Best practices for setting up your tent according to LNT include:
Always camp at least 200 feet away from lakes and streams.
Seek out existing campsites, especially in well-traveled areas
Pitch your tent in an area where vegetation is absent and keep campsites small.
In undisturbed or remote areas, minimize the impact by spreading out tents, finding durable surfaces, and changing sites each night.
Other considerations for choosing a tent location include minimizing stressors like wind and rain. Your tent is built to withstand these elements, but that doesn’t mean that it cannot be damaged, especially in serious storms. Look for natural windbreaks like trees, hills, or rocks to protect the tent and avoid camping under trees with dead or broken limbs. The time of year will guide how you orient your tent in accordance with the wind. For instance, during hot summer months, you may orient the door towards the wind for more of a cooling effect. Then in high wind conditions, you should have the side with the strongest pole structure facing the direction the wind is coming from.
When it is raining or rain is forecast, try to find higher, dry ground under tree cover. Higher ground generally means less moisture and less condensation in the tent, and tree cover creates a micro-climate that tends to be warmer and drier. Always avoid camping in low areas where water can channel or collect during a storm, and orient the door away from the wind during rainstorms.
Now that you’ve found the perfect spot to pitch your tent, it’s time to set it up! First, clear the area of any debris that can damage the tent’s floor or make for uncomfortable sleep. These items include things like sticks and rocks. Once this is established, place the footprint down and then roll the tent out on top. If it is exceptionally windy as you set up the tent, have another person help you or stake down the corners to hold it in place and readjust later.
Once you have followed the manufacturer’s instructions for getting the poles into the tent and up, stake the tent. Most stakes will have the best holding power in soils if vertical when pushed into the ground. On surfaces that are hard to push a stake in, use a rock or a mallet to hammer it down. Push the stake in just far enough that it is close to the ground, but enough of the top is exposed to attach a cord over it.
After you’ve staked the tent, decide if you need the rainfly or not. A rainfly may not be necessary for the middle of summer, and having it off will give you a great view of the sky and a much cooler sleeping situation. However, knowing how to attach the rainfly in a pinch is necessary if you go this route. If you need the rainfly, then secure the rainfly wraps first. These typical velcro strips attach the fly to the tent poles to make it a sturdy cohesive piece. Attach the rainfly to the tent corners and then tension the fly evenly.
If bad weather is forecast, it can also help to add guylines to your tent setup. Guylines are generally optional, but they can help keep your tent more secure and protected. If you’re unsure about the severity of the wind, at least add one guyline on the side of the tent the wind is coming from. For a more stable shelter, attach guylines evenly on all sides of the tent.
Check the setup each night before bed to ensure everything is stable and in place, and enjoy the camping experience.


